
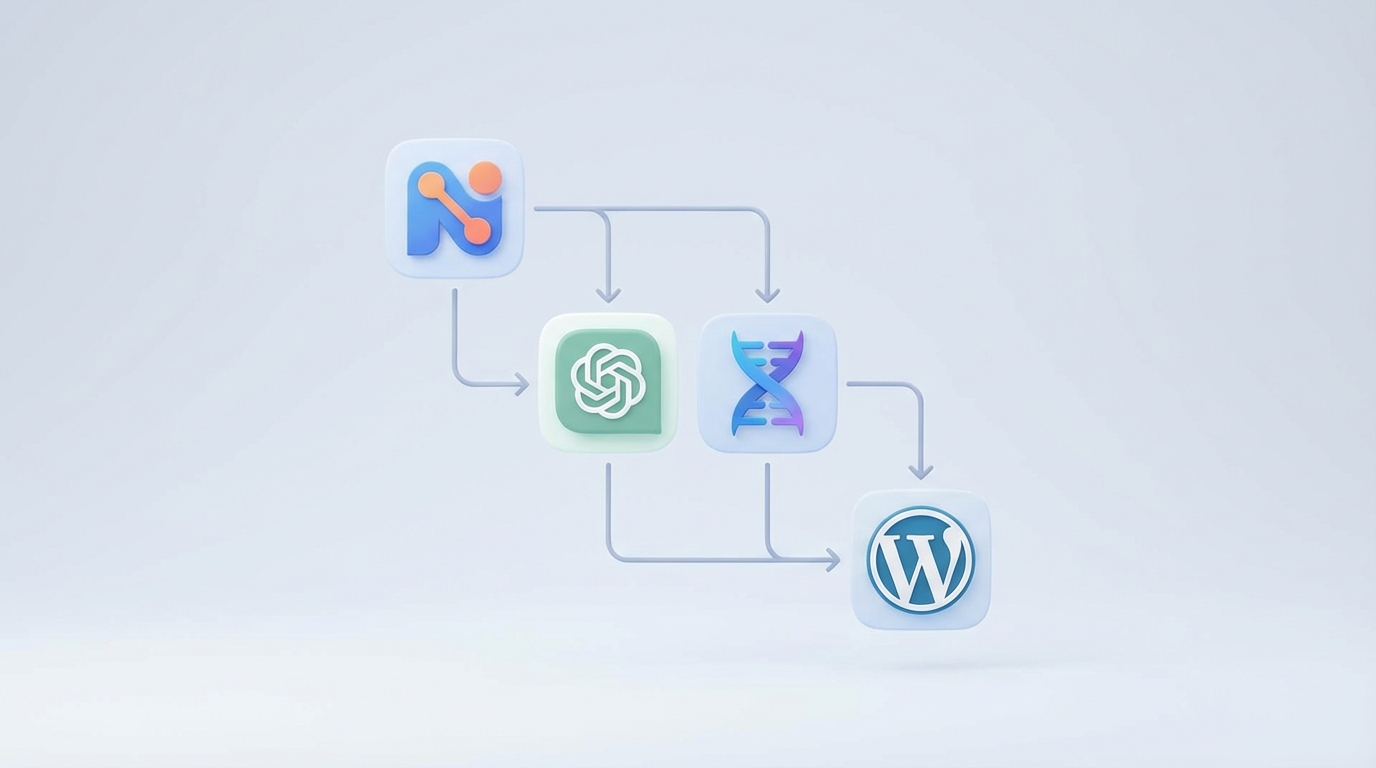
Are you looking for an effortless way to generate and publish blog posts using powerful AI tools? Integrating N8N with ChatGPT or Gemini and WordPress can automate your content creation process, making it faster and more efficient. This guide walks you through setting up an automated workflow, even if you’re a beginner.
What You’ll Need
- N8N: An open-source workflow automation tool.
- ChatGPT or Gemini API Access: For AI-generated content.
- WordPress Site: With REST API enabled and an application password/user credentials for API access.
Step 1: Set Up N8N
Install N8N on your computer, server, or use the cloud service. Follow the official N8N installation guide relevant to your environment. Once installed, access the N8N editor via your browser.
Create a New Workflow
Click on ‘New Workflow’ and give it a descriptive name so you can easily identify it later.
Step 2: Add a Trigger Node
Choose how you want your workflow to start. Common choices include:
- Webhooks: Start the flow when you receive an HTTP request.
- Schedule Trigger: Run the workflow at predefined times (e.g., daily).
Step 3: Connect to ChatGPT or Gemini
Add an HTTP Request Node
Add an HTTP Request node after your trigger. Configure it to call the ChatGPT or Gemini API. You’ll need your API key and endpoint information. Here’s an example for ChatGPT:
{
  "method": "POST",
  "url": "https://api.openai.com/v1/chat/completions",
  "headers": {
    "Authorization": "Bearer YOUR_OPENAI_API_KEY",
    "Content-Type": "application/json"
  },
  "body": {
    "model": "gpt-3.5-turbo",
    "messages": [{"role": "user", "content": "Write a blog post about ..."}]
  }
}
For Gemini, follow Google’s API documentation for the correct endpoint and request format.
Parse AI Response
Use a Function or Set node to extract the blog post content from the AI response, ready to post to WordPress.
Step 4: Publish to WordPress
Add another HTTP Request node. This time, configure it to connect to your WordPress site using the REST API:
{
  "method": "POST",
  "url": "https://yourwordpresssite.com/wp-json/wp/v2/posts",
  "headers": {
    "Authorization": "Basic BASE64_ENCODED_USER:APP_PASSWORD",
    "Content-Type": "application/json"
  },
  "body": {
    "title": "Your Post Title",
    "content": "Your AI-generated content",
    "status": "publish"
  }
}
Tip: Use N8N variables to dynamically insert AI-generated content and titles into this step.
Step 5: Test Your Workflow
Manually trigger your workflow or wait for the scheduled time. Verify on your WordPress site that the new post was published automatically as expected. Adjust nodes or API parameters as needed.
Troubleshooting Tips
- Double-check all API keys and credentials for accuracy.
- Check that your WordPress REST API and application passwords are enabled.
- Review N8N node logs for detailed error messages.
Conclusion
By connecting N8N, ChatGPT or Gemini, and WordPress, you can automate AI-powered blog publishing with ease. This setup saves time, streamlines your workflow, and brings powerful content-generation capabilities right to your site. Experiment with prompts, schedules, and triggers to tailor the automation to your needs.